
Last Updated: November 18, 2026
Quick Summary
Underfloor heating installation usually takes about one to two days of active work for a typical room, but the full project takes longer. Electric mat systems often need three to six working days before tiling is finished, while water-based systems can take weeks when screed curing is included.
- Electric mat systems in a typical room take one to one-and-a-half days to install.
- Water-based systems in a typical room take two to three days of active installation.
- Adhesive or screed curing is usually the longest stage, not the heating install itself.
- Do not switch a new system straight to full temperature; ask for a ramp-up schedule.
- Ask for the schedule split into install days, curing days and tiling days.
Table of Contents
- How Long Underfloor Heating Takes to Install From Start to Finish
- The Underfloor Heating Installation Process, Stage by Stage
- Installation Timeline by Room Size and System Type
- Underfloor Heating Curing Time and When You Can Switch It On
- Factors That Delay an Underfloor Heating Installation
- Underfloor Heating Installation Checklist for Homeowners
- Booking Your Underfloor Heating Installation With WDC Services
- Frequently Asked Questions
Underfloor heating is one of the most comfortable upgrades you can add to a bathroom, but the underfloor heating installation timeline is often underestimated. This guide from WDC Services walks through how long the work usually takes, what happens at each stage, and what can slow the job down. At WDC Services, we want Melbourne homeowners to plan the full project, not just the day the heating goes in.
How Long Underfloor Heating Takes to Install From Start to Finish
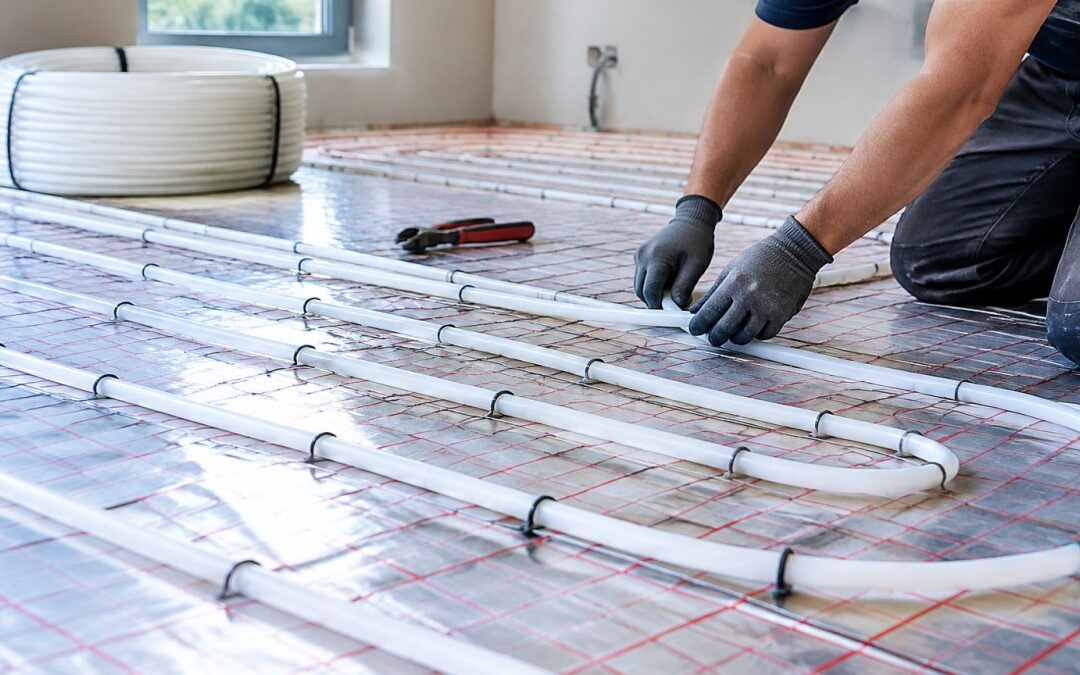
Underfloor heating is a floor-level heating system that warms the room from below, usually through electric cables or mats, or through water pipes. The installation itself is often quick, but the full project depends on what happens before and after the heating goes in.
Watch out: Many homeowners plan around the heating install day alone and forget about floor preparation, curing and tiling. Ask your builder for the full elapsed schedule, not just the install date. Allowing enough time for heated floor substrate prep before installation helps keep the wider schedule realistic and avoids treating curing and tiling as afterthoughts.
The Underfloor Heating Installation Process, Stage by Stage
The process follows a clear order. Each stage depends on the one before it, so delays early on push back everything that follows.
- Preparation and subfloor check
- Layout and system selection
- Heating element installation
- Testing and insulation
- Screed or adhesive, then curing
- Floor covering and final connection
Preparation and subfloor requirements
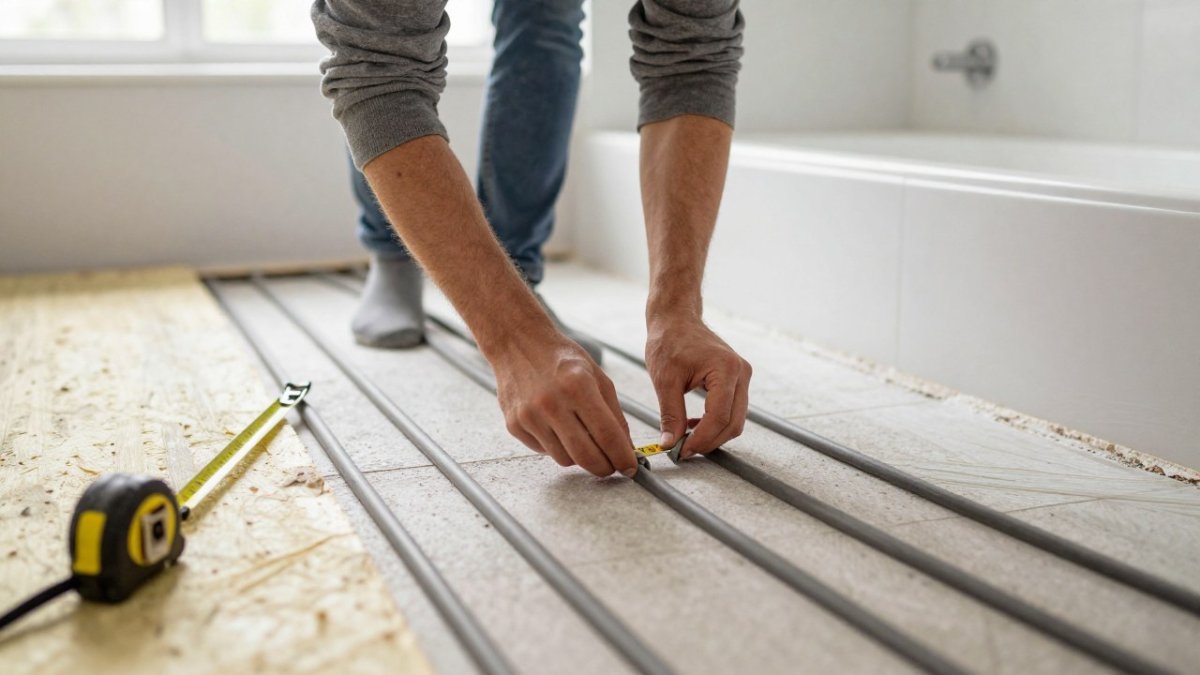
Before any heating goes down, the subfloor needs to be sound, level and clean. Our guide on installing waterproof membranes for bathroom floors covers this preparation step in detail. Loose boards, cracks or old debris can cause problems later. We recommend checking the subfloor and waterproof membrane before the heating is ordered, because repairs at this stage are far cheaper than fixes after tiling.
Electric versus water-based system installation
Electric systems use cables or mats and are usually the simpler option for a bathroom. Water-based systems connect to a heat source and pipework, so they take more planning and coordination with plumbing. The right choice depends on the room, the existing setup and the trades involved, so ask for a clear explanation before you commit.
Installation Timeline by Room Size and System Type
Broad day ranges are not much use when you are trying to book trades and plan around a bathroom being out of action. What follows separates active installation hours from the elapsed calendar time, because the two are very different. Your installer should confirm the timing against your actual room.
Electric mat systems
| Project scope | Active install time | Elapsed time including adhesive curing and tiling |
|---|---|---|
| Small bathroom (roughly 4-6 m²) | Half a day to one day for the mat and thermostat | Three to five working days before the floor is tiled and ready for grout |
| Typical room (roughly 10-15 m²) | One to one-and-a-half days | Four to six working days |
| Whole home, multiple rooms | Two to four days across the rooms | Seven to ten working days, sequenced room by room |
Electric mats are quick to lay because there is no pipework and no screed pour in most retrofit bathrooms, the mat goes into the adhesive bed under the tiles. The elapsed time is dominated by adhesive curing and tiling, not by the heating itself.
Water-based systems
| Project scope | Active install time | Elapsed time including screed curing and tiling |
|---|---|---|
| Small bathroom | One to two days for pipe layout and manifold connection | Five to eight working days |
| Typical room | Two to three days | Seven to ten working days |
| Whole home | Five to ten days plus manifold and boiler coordination | Two to four weeks, depending on screed type and zoning |
Water-based systems add pipework, a manifold, and often a pump or boiler connection, so plumbing and electrical trades have to be sequenced around each other. Where a new screed is poured over the pipes, the curing period becomes the single longest stage of the whole project.
What changes the estimate most
- Room size and shape. An awkward L-shaped bathroom with a shower recess and a vanity cut-out takes longer to lay out than a plain rectangle of the same area.
- System type. Electric mats are faster to install; water systems are faster to run in a large open plan but slower to commission.
- New-build versus retrofit. A retrofit has to work around existing floor heights, door clearances and the waterproofing membrane; a new build can set the floor height correctly from the start.
- Number of zones and thermostats. Each additional zone adds wiring, a thermostat position and a commissioning step.
- Floor covering. Large-format tiles and stone need more careful adhesive work and longer curing than small tiles.
Watch out: Ask for the schedule broken into active install days, curing days and tiling days separately. A quote that gives one total number hides where the real waiting time sits, and that is usually the curing stage, not the heating install.
Underfloor Heating Curing Time and When You Can Switch It On
Curing is the stage most homeowners underestimate, and it is the one that most often pushes the real return-to-service date past the install date. The heating element itself is not the bottleneck, the material around it is.
Adhesive curing under tiles (electric systems)
The floor should not be walked on heavily during adhesive curing, and the heating must stay off. Follow the adhesive and grout manufacturers’ curing guidance before the floor is used normally.
Screed curing (water-based systems)
Where pipes are encased in a new screed, the curing period is measured in weeks rather than hours. Your installer should confirm the curing schedule against the screed supplier’s specification before any heating is switched on.
The first-heating ramp-up
Do not switch a new system straight to full temperature. Ask your installer for the ramp-up schedule suited to your floor and system.
Testing and commissioning
Ask your installer who tests and commissions the system, and request the test readings and a short demonstration of the controls at handover.
Watch out: A system switched on at full power before the adhesive or screed has cured can cause cracking. Build curing time into the schedule from the start.
Factors That Delay an Underfloor Heating Installation
Most delays come from a few common causes:
- Subfloor repairs found after work has started
- Waiting on plumbers or electricians to finish their part
- Weather affecting drying times for screed or adhesive
- Material delivery problems
- Changes to the design once work is underway
Watch out: If you change tile type or layout mid-project, the heating layout may need to change too. Lock in your floor covering choice early.
Underfloor Heating Installation Checklist for Homeowners
Use this checklist before the work begins:
- Confirm the full elapsed schedule, not just the install day
- Check the subfloor and waterproofing are in good condition
- Agree on the system type: electric or water-based
- Confirm which trades are needed and when
- Choose your floor covering before the heating is laid
- Allow time for curing before tiling and switch-on
- Ask who tests and commissions the system at the end
Booking Your Underfloor Heating Installation With WDC Services
WDC Services manages bathroom renovations from design through to the final finishes, including electrical work, waterproofing and tiling. You can see examples of our bathroom work on our bathroom renovation projects page, and if you are comparing builders, our guide on finding a reliable tradesman in Melbourne East explains what to look for in a clear quote.
Get in touch with WDC Services to talk through your bathroom and get a realistic schedule for your underfloor heating installation. For further information, contact Domenico (Dom) Crupi on 0425801005 or email info@wdcservices.com.au.
Please note this advertisement has been AI generated for entertainment and lead generation purposes and in some cases may not reflect the company’s exact services and information. Prior to engaging the company it is recommended that you seek clarification on some or all points in this advertisement. WDC Services has many 5 star Google reviews that can be used as a reliable and true testimony to the quality services provided to its customers over many years. Contact Domenico (Dom) Crupi on 0425801005 or email info@wdcservices.com.au for further information.
Frequently Asked Questions
How long does underfloor heating take to install?
For a typical bathroom, the physical installation of an electric underfloor heating mat or cable depends on room size and layout; confirm the timing with your installer. The full project is longer because the subfloor must be prepared, the heating layer must be tested, and the screed or tile adhesive must cure before final floor coverings go down. The exact schedule depends on room size, system type and how the other trades are sequenced around the work.
How long does it take for underfloor heating to be ready to use after installation?
Readiness depends on the floor covering and the adhesive or screed used above the heating layer. Tile adhesive and grout generally need a set period before the system is switched on, and the manufacturer’s curing guidance should be followed. Once the floor is finished, the system is usually commissioned and tested, then brought up to temperature gradually so the floor does not stress as it warms. Confirm the exact timing with your installer before the first heating cycle.
Should underfloor heating be installed before or after waterproofing?
In most bathroom renovations the heating layer is installed after the subfloor is prepared and before the waterproofing membrane and tiling are applied, so the waterproofing seals over the heating elements. The sequence needs to be coordinated between the heating installer, the waterproofer and the tiler to avoid damaging cables or mats.
What can delay an underfloor heating installation?
The most common delays are an unprepared or uneven subfloor, late delivery of materials, electrical connections that need a licensed electrician, and waiting for screed or adhesive to cure before the next trade can start. Weather and site access can also slow work on larger jobs. Building a contingency of a few working days into the schedule, and confirming the order of trades in advance, reduces the chance that one delayed step pushes back the whole project. For a realistic schedule for your home, contact WDC Services directly.

Disclaimer: Disclaimer, Please note this advertisement has been AI generated for entertainment and leed generation purposes and In some cases may not reflect the companies exact services and information. Prior to engaging the company it is recommended that you seek clarification on some or all points in this advertisement. WDC Services has many 5 star google reviews that can be used as a reliable and true testimony to the quality services proved to its customers over many years. Contact Domenico ( Dom ) Crupi on 0425801005 or email info@wdcservices .com.au for further information.