
Table of Contents
- Start With the Room, Not the Tile
- Tile Size and Layout: The Biggest Decision in Choosing Bathroom Tiles for Small Spaces
- Large Format Tiles for Small Bathrooms: Where They Work and Where They Don’t
- Colour, Grout, and Light: Making a Cramped Layout Feel Bigger
- Slip Resistance Ratings for Bathroom Floor Tiles: The Safety Detail Most Guides Skip
- Waterproofing Requirements for Bathroom Renovations: What Happens Before the Tile Goes Down
- Tile Weight, Wastage, and What Actually Drives Your Budget
- Frequently Asked Questions
Last Updated: September 10, 2026
Start With the Room, Not the Tile
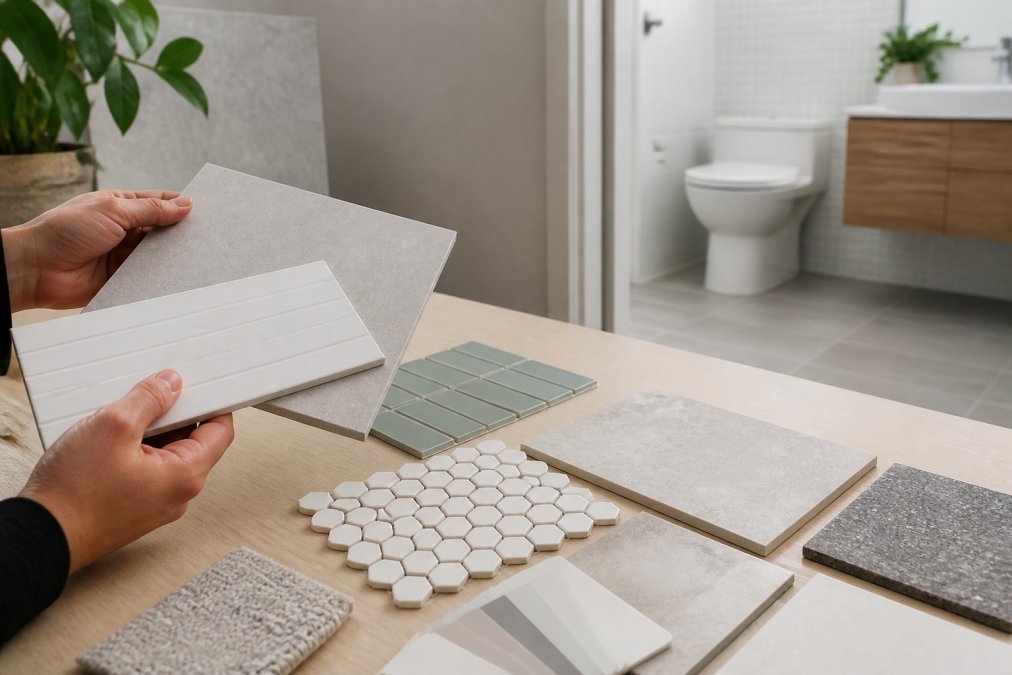
Choosing bathroom tiles for small spaces starts with measuring the room, not browsing a showroom. TileMart’s 2026 guide identifies porcelain as the best overall choice for bathroom floors because of its density and water resistance, but the right tile for your room depends on dimensions you haven’t written down yet.
Ordering tiles before measuring the floor often results in wasted material and a layout that fights the space. Measure the floor area, the wall heights, and the position of every fixture first. Those numbers decide tile size, layout, and budget before you look at a single sample.
Ordering tiles before you’ve measured means you’ll almost certainly buy the wrong format. Tiles cut to fit around a cramped layout waste 15-20% more material than a planned layout, and matching dye lots later is often impossible.
Tile Size and Layout: The Biggest Decision in Choosing Bathroom Tiles for Small Spaces
Tile size drives every other decision in a small bathroom. Large-format tiles are a primary 2026 trend for creating a sense of expanded space, according to Cotto d’Este’s 2026 tile trends report, because fewer grout lines mean less visual clutter.
When a Large Tile Is Too Large
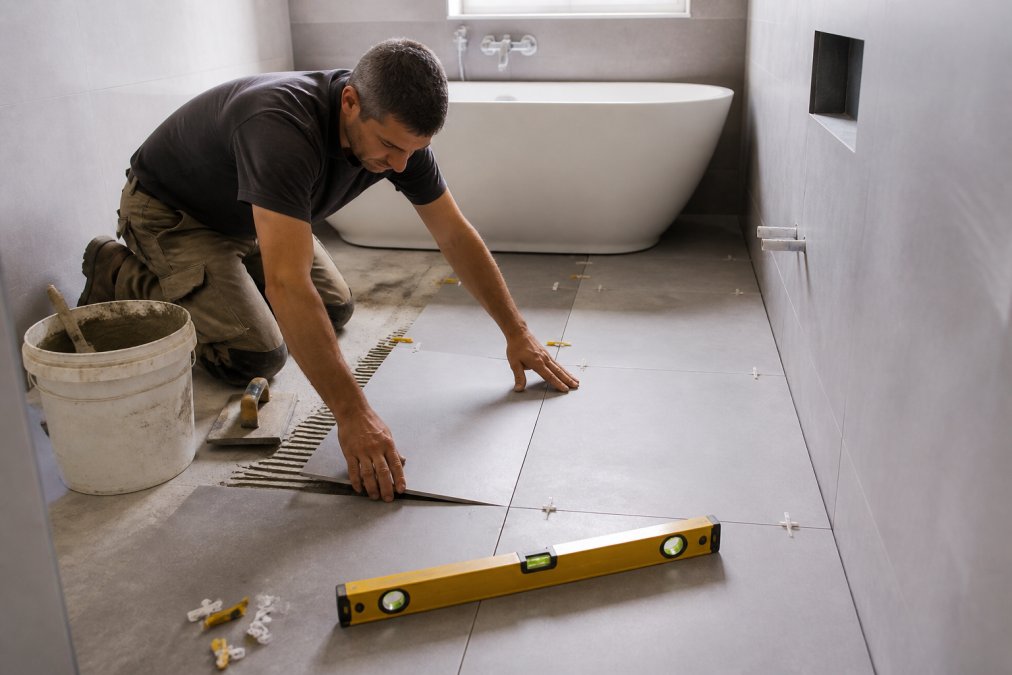
A large tile can shrink a small room if it’s oversized for the space. Marazzi’s 2025 design guidance suggests that if you can’t fit at least three tiles in each direction, the tile will look too big and highlight how small the room is. As a rule, a 600x600mm tile needs a floor at least 1.8m in both directions to sit correctly.
Mosaic and Small Tiles for Grip and Detail
Small mosaic tiles increase the number of grout lines on a floor, which improves grip underfoot. Artistic Tile (2025) recommends mosaics specifically for floors where safety matters more than seamlessness. Use them on the floor and reserve larger tiles for walls.
| Tile Format | Best For | Trade-Off |
|---|---|---|
| Large-format (600x600mm+) | Floors and walls in rooms over 1.8m each way | Wastage rises in cramped layouts |
| Mosaic (up to 50mm) | Shower floors, slip-prone zones | More grout to clean |
| Subway (75x150mm) | Wall features, splashbacks | Busy on a full floor |
Large Format Tiles for Small Bathrooms: Where They Work and Where They Don’t
Large format tiles for small bathrooms work best on walls and in rooms with at least three full tiles in each direction. Mineral Tiles (2026) notes that the reduced grout lines from larger formats minimise visual clutter and create the perception of a more expansive, seamless space.
Where they fail is on floors in awkward, fixture-heavy layouts. A toilet, vanity, and shower recess break up the floor plane, so a large tile gets cut into narrow strips around each fixture. That’s where wastage climbs and the “seamless” look disappears. Keep large-format tiles on the walls, and use a smaller, grippier format on the floor.
If you want the seamless look but your floor is chopped up by fixtures, run the large-format tile vertically up the wall behind the vanity instead. It reads as one continuous surface without the cutting waste.
Colour, Grout, and Light: Making a Cramped Layout Feel Bigger
Light, warm neutrals make a small bathroom feel bigger because they reflect more light. Capital Tiles (2026) reports that bathroom tile trends are moving toward warmer colours and natural textures, a shift away from the stark cool tones that dominated previous years. Glossy finishes bounce light around the room, and Daltile (2025) lists reflective surfaces as a key strategy for making small bathrooms feel larger. Pair a glossy wall tile with a matte floor tile so the floor doesn’t become a slip risk when wet.
The Lighting Interaction Most Guides Ignore
Tile finish and artificial lighting are a system, not two separate choices. The same glossy tile can read as warm and inviting under one light and cold and clinical under another, and in a small bathroom that difference is magnified because every surface is close to the light source.
Two lighting specifications do most of the work:
- Correlated colour temperature (CCT), measured in Kelvin. A 2700K to 3000K light is warm and flatters beige, taupe, and greige tiles. A 4000K light is cooler and crisper, and it will pull any warm-neutral tile toward grey. In a small room, a single 4000K downlight over a warm tile can undo the colour choice entirely.
- Colour rendering index (CRI). CRI describes how faithfully a light shows colour, on a scale up to 100. A light with a CRI below 80 will mute and muddy tile colour, and it makes subtle grout-to-tile matches look mismatched (energy.gov). For a bathroom where grout matching is doing the visual work, specify fittings with a CRI of 90 or above.
A practical rule: choose the tile and the light together. If you want a warm, expansive feel, pair a warm-neutral tile with 3000K, CRI 90+ lighting. If you want a crisp, modern feel, a cooler tile under 4000K lighting will look intentional rather than accidental.
Grout Colour and Visual Continuity
Grout colour matching is the cheapest way to change how big a room feels. Match grout to tile and the grout lines disappear, creating visual continuity across the floor and walls. Contrast the two and every line becomes a visible grid that breaks up the space. In a cramped layout, match the grout. Reserve contrasting grout for a feature wall where you want the pattern to read.
One caveat that ties back to lighting: a matched grout can still look like a grid if the light is too cool or too dim. Under 4000K light, a slightly warmer grout than the tile often reads as a truer match than an exact colour match does. Test a sample board under your actual planned lighting before committing, not under showroom lighting.
Ask your tiler to lay a small sample board with your chosen tile and grout, then view it under the exact light fittings and colour temperature you plan to install. It is the only reliable way to predict how the finished room will read.
Slip Resistance Ratings for Bathroom Floor Tiles: The Safety Detail Most Guides Skip
Slip resistance ratings for bathroom floor tiles are classified under the R-rating system, where R9 offers the least grip and R13 the most. Bathroom floors generally need a minimum of R10, and shower floors typically need R11 or higher because they’re constantly wet.
This is the detail most design-led guides leave out, and it’s the one that matters most. A glossy, low-grip tile that looks stunning in a showroom becomes a hazard the first time it gets wet. Check the R-rating on the box before you buy, and never specify a floor tile below R10 in a wet area. If you’re tiling a shower floor, mosaics with their extra grout lines give you grip and drainage in one format.
Waterproofing Requirements for Bathroom Renovations: What Happens Before the Tile Goes Down
Waterproofing requirements for bathroom renovations are set out in the relevant building code and Australian Standard for wet area waterproofing, and they apply before any tile is laid. Waterproofing is the membrane that stops water reaching the structure behind your tiles, and it must be installed and cured before tiling begins.
Get this wrong and no tile, however expensive, will save the room. Water damage behind a failed membrane shows up as lifting tiles, musty smells, and rotten framing, and it usually means ripping the whole bathroom out again. A licensed waterproofer applies the membrane, it’s inspected, and only then does the tiler start. This sequencing is non-negotiable, and it’s the step that separates a renovation that lasts from one that fails in three years.
Waterproofing is the one stage you cannot skip, rush, or DIY past inspection. Tile is a finish; the membrane underneath is what protects your home.
Tile Weight, Wastage, and What Actually Drives Your Budget
Tile weight and wastage drive your renovation budget more than the price per square metre on the box. A heavy large-format tile may need a stronger substrate or a different tile adhesive, and both add cost before a single tile is laid. Wastage is the other hidden line item, and in a small bathroom it is proportionally larger than in any other room.
Can Your Walls Carry the Tile?
Large-format porcelain and stone slabs are heavy. A 1200x600mm porcelain tile at 10mm thick typically weighs in the range of 20 to 30kg per square metre, and natural stone slabs can be considerably heavier (daltile.com). That weight has to be carried by the substrate and the wall framing, not just the adhesive.
The following pattern often holds:
- Stud-framed walls can usually carry standard ceramic and porcelain tiles without modification, but very heavy large-format slabs may need additional noggins, sheathing, or a different fixing method.
- Render or masonry walls generally handle weight well, but the surface must be flat and sound before tiling.
- Older substrates, including fibre-cement sheeting that has absorbed moisture, may need replacement rather than reinforcement.
This is where a tiler and, in some cases, a builder or structural professional should assess the wall before the tile is ordered. If the substrate needs upgrading, that cost lands before the first tile is laid, and it is not negotiable. A tile that is too heavy for the wall will fail at the adhesive or the substrate, not at the tile itself.
Adhesive choice follows weight. Large-format tiles need a cement-based adhesive designed for the format, often applied with a notched trowel and back-buttering to achieve full coverage. Standard adhesive on a large tile leaves voids, and voids lead to cracked tiles and drummy spots.
Calculating Wastage Before You Order
Wastage is the difference between the area you tile and the area you buy. In a small bathroom, the ratio of cuts to full tiles is high because fixtures, corners, and doorways interrupt the layout.
A simple method:
- Measure the total area to be tiled in square metres (floor and walls separately).
- Add a wastage allowance based on layout complexity:
- Simple layout in a square room: add 10%.
- Fixture-heavy layout with standard cuts: add 15%.
- Diagonal, herringbone, or chevron patterns: add 20% or more.
- Round up to the nearest full box, because tiles are sold by the box and partial boxes are rarely returnable.
Worked example: a 4 square metre floor with a toilet, vanity, and shower recess, laid in a standard grid, needs 4 x 1.15 = 4.6 square metres. Rounded up to full boxes, that might be 5 square metres of tile. The extra 0.4 square metres is not waste in the ordinary sense; it is the cost of cutting around fixtures, and it is unavoidable.
Cost Per Square Metre Versus Total Cost
The price per square metre on a tile label is not the cost of the floor. The true cost is:
- Tile area purchased, including wastage
- Adhesive and grout, which scale with tile format and joint width
- Substrate preparation or reinforcement, if required
- Waterproofing, which is a separate trade and a separate line item
- Labour, which rises with pattern complexity and cut count
A cheaper tile with a 20% wastage rate can cost more in total than a more expensive tile with a 10% wastage rate, because you buy more boxes of the cheap tile. Run the numbers on total purchased area, not on the shelf price.
| Cost Driver | Why It Matters | How to Control It |
|---|---|---|
| Tile weight | Heavy tiles may need substrate reinforcement | Check substrate before buying large-format |
| Wastage | Cramped layouts and patterns cut more tiles | Choose a simple layout in small rooms |
| Adhesive | Large tiles need different adhesive | Match adhesive to tile format |
| Waterproofing | Required before tiling, adds a stage | Budget for it from the start |
| Pattern complexity | Herringbone and diagonal raise cut count | Reserve patterns for feature areas |
Budget on total purchased area, not price per square metre. In a small bathroom, wastage and substrate preparation are the two line items most likely to blow the budget, and both are decided before the first tile is laid.
Frequently Asked Questions
Which size tile is better for a small bathroom, large or small?
Large-format tiles usually work better because fewer grout lines create visual continuity, which makes a cramped layout feel more expansive. The catch is scale: if you cannot fit at least three full tiles across a wall or floor in any direction, the tile will look oversized and can highlight how small the room is. Small mosaic tiles still have a place, particularly on shower floors where extra grout lines improve grip. Match the tile size to the room’s dimensions, not to the trend.
Are large format tiles for small bathrooms actually practical?
They are, with two conditions. First, the substrate must be flat, because large tiles follow every dip in the wall or floor. Second, you need a tiler who can handle the weight and cutting, since a 1200mm tile is awkward to manoeuvre in a tight room. Large format tiles for small bathrooms also reduce grout cleaning over time. If your walls are badly out of square, rectifying them first usually costs less than the wastage from cutting oversized tiles to fit.
What colour tiles make a small bathroom look bigger?
Light, warm neutrals remain the safest choice for spatial perception, and 2026 trends have moved away from stark cool whites toward warmer beige, sand, and greige tones. Glossy finishes bounce light around the room and add to the effect, while matte finishes suit floors where grip matters. Darker colours can look striking, but they absorb light and make a room feel smaller, so use them as accent tiles or on a single feature wall rather than across the whole space.
Do I need a specific slip rating for bathroom floor tiles?
Yes. Wet areas need a floor tile with a suitable slip resistance rating, commonly expressed as an R-rating or a P-rating under the Australian slip resistance test methods. As a general rule, bathroom floors should sit at R10 or higher, and shower floors often call for R11 or R12. Glossy floor tiles, even beautiful ones, are a poor choice in a wet area. Check the tile’s rating before you buy, and confirm it suits both the floor and the shower base.
Disclaimer: Disclaimer, Please note this advertisement has been AI generated for entertainment and leed generation purposes and In some cases may not reflect the companies exact services and information. Prior to engaging the company it is recommended that you seek clarification on some or all points in this advertisement. WDC Services has many 5 star google reviews that can be used as a reliable and true testimony to the quality services proved to its customers over many years. Contact Domenico ( Dom ) Crupi on 0425801005 or email info@wdcservices .com.au for further information.