
Table of Contents
- Why Add a Countertop to Your Laundry Room
- Measuring Your Washer and Dryer Space
- Choosing Laundry Benchtop Materials
- Planning Countertop Dimensions and Clearance
- Installing Laundry Countertop Support Brackets
- Fitting a Laundry Benchtop Around a Sink
- Securing Your Countertop and Preventing Movement
- Common Mistakes to Avoid
- Frequently Asked Questions
Last Updated: October 5, 2026
Why Add a Countertop to Your Laundry Room
A laundry room countertop transforms how you work. It gives you a folding surface, storage space, and a place to sort clothes. At WDC Services, we help homeowners maximise their laundry spaces with custom countertops that fit their needs perfectly. Applying these same principles of maximizing small laundry spaces often reveals clever ways to organize other compact rooms in your home, such as those found in our guide to maximizing small kitchen storage.
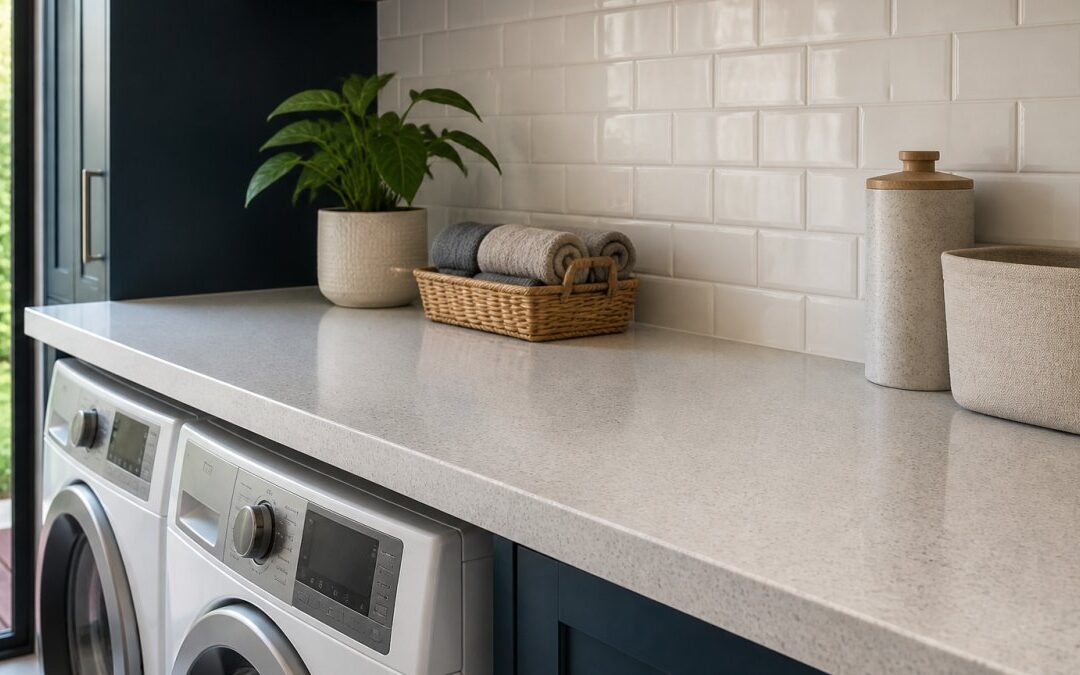
Adding a countertop over your washer and dryer turns a purely functional area into a practical workspace for folding, sorting, and organising.
Success requires accurate measurements, the right material choice, and solid support installation.
Start by measuring your appliances and the space around them. Even small measurement errors can cause big problems during installation.
Measuring Your Washer and Dryer Space
Accurate measurements are the foundation of any laundry room countertop project.
Measure these dimensions:
- Width of your washer and dryer (side to side)
- Depth from front to back
- Height of the appliances from floor to top
- Distance from the appliances to the walls on each side
- Height of any shelving or cabinets above the appliances
For side-by-side appliances, add 2-3 centimetres to the combined width for overhang.
Top-load machines need clearance above them and cannot have a countertop installed directly on top. Front-load machines work better for under-counter placement.
Measure the space where the countertop will sit, not just the appliances themselves. Walls are often uneven. A countertop that fits the appliances perfectly may not fit the wall space.
Choosing Laundry Benchtop Materials
Your material choice affects durability, maintenance, and cost. Laundry spaces are humid and prone to spills, so moisture resistance is essential.
Wood Countertops
Wood brings warmth and style. Hardwoods like white oak and blackbutt are popular for custom laundry benchtops.
Wood is workable for DIY installation if you’re comfortable with basic carpentry. Live-edge wood adds a modern, natural look.
The critical downside is maintenance. Wood absorbs water, leading to warping, swelling, and rot if not properly sealed.
Sealing is mandatory. Apply marine-grade sealant and reapply every 12-18 months or after spills. Sand lightly between coats. Without this commitment, wood will fail within 2-3 years.
Seal all cut edges thoroughly before installation, especially around sink cutouts.
Quartz and Granite Options
Quartz and granite are engineered or natural stone, both significantly harder and more moisture-resistant than wood. They resist water absorption, stains, and heat damage.
Quartz is engineered stone, non-porous, and requires only damp-cloth cleaning. Granite is natural stone, porous, and requires annual sealing.
Both cost more upfront and require professional installation, but last 15-20+ years with minimal care.
Granite needs annual sealing; quartz needs only damp-cloth cleaning. Neither warps, rots, or absorbs moisture.
Laminate and Composite Options
Laminate and composite materials are budget-friendly, water-resistant, and available in many colours and patterns.
Laminate can chip, peel, or delaminate with prolonged moisture or impact. Composites are more durable but still less robust than stone in high-moisture environments.
These materials suit tight budgets but expect replacement within 5-10 years with heavy use.
Choose wood for warmth and custom aesthetics, but commit to annual sealing and maintenance. Choose quartz for durability and minimal upkeep. Choose granite if you want natural stone at a lower price point than quartz, accepting annual sealing. Choose laminate or composite only if budget is the primary constraint and you accept shorter lifespan.
Planning Countertop Dimensions and Clearance
Standard countertop height is 85-90 centimetres, matching kitchen counters. Adjust to suit your comfort.
Countertop depth should be 60 centimetres minimum for comfortable folding. Deeper countertops (up to 75 centimetres) provide more workspace.
Leave at least 15 centimetres of clearance above the countertop if you have shelving above.
For a laundry benchtop around a sink, plan at least 75 centimetres depth.
Check ceiling height to ensure the countertop and shelving fit comfortably.
Installing Laundry Countertop Support Brackets
Proper support is critical. A countertop carries significant weight from the surface, folded clothes, and storage. Inadequate support will sag, crack, or fail.
Understanding Load and Weight
Before selecting brackets, calculate the total load your countertop must support.
Countertop weight varies by material:
- Solid wood (oak, blackbutt): approximately 40-50 kg per square metre
- Quartz: approximately 25-30 kg per square metre
- Granite: approximately 27-30 kg per square metre
- Laminate: approximately 15-20 kg per square metre
Add functional load:
- Folded laundry and storage: 20-40 kg per square metre (conservative estimate)
- Occasional concentrated load (e.g., a basket of wet clothes): up to 50 kg in a small area
Always assume the worst-case scenario and over-engineer support.
Locating Wall Studs
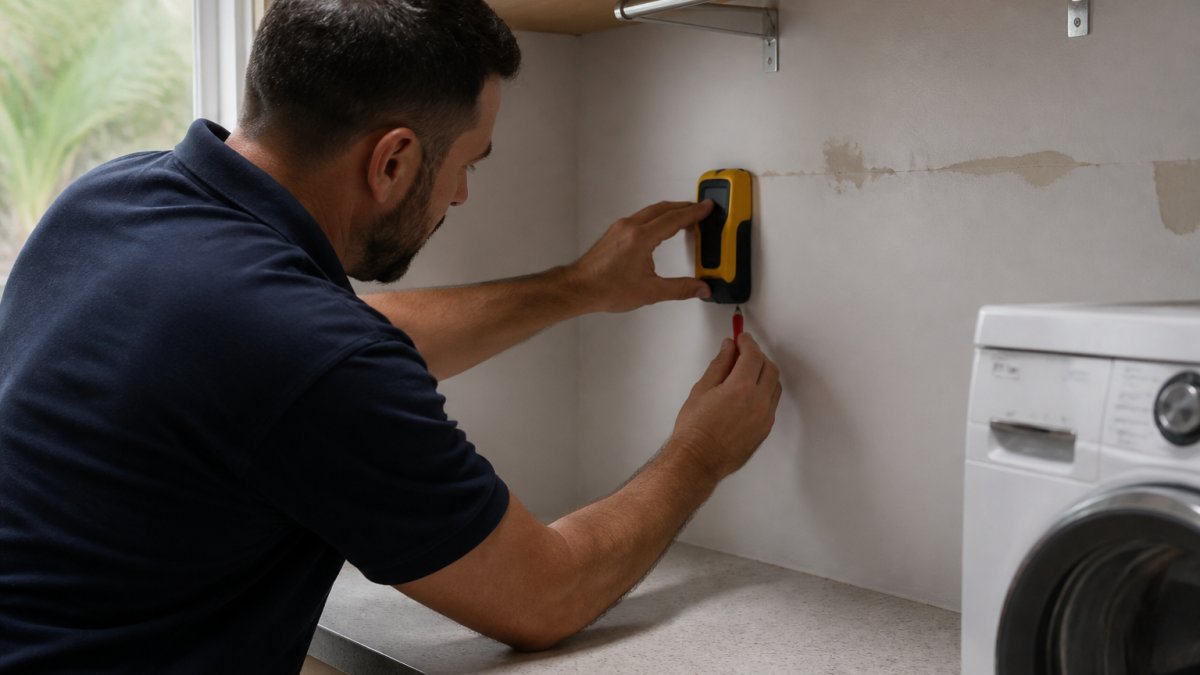
Wall studs are the wooden or metal frames behind drywall. They’re the only part of the wall strong enough to anchor heavy brackets securely.
Studs are typically spaced 400-450 mm apart in modern construction. They run vertically from floor to ceiling. Locate them using an electronic stud finder. Mark stud locations with a pencil.
If you cannot find studs reliably, do not proceed. A countertop without stud attachment will sag or collapse under load. Call a qualified tradesperson if you’re uncertain.
Selecting and Spacing Brackets
Use heavy-duty steel L-brackets or angle brackets rated for at least 1.5 times your calculated load. For an 80 kg total load, use brackets rated for 120 kg or more.
Bracket spacing is critical:
- Space brackets no more than 600 mm apart along the wall
- For countertops longer than 1.5 m, place brackets at 400-500 mm intervals
- Always place a bracket directly above a wall stud
- Use at least three brackets for any countertop; two is insufficient
For a countertop spanning two appliances (washer and dryer side by side), place brackets at the outer edges and at least one in the centre to prevent sagging over the gap between machines.
Anchoring Brackets Securely
Drill pilot holes first. These are small-diameter holes that guide your bolts and prevent wood splitting. Use a drill bit 2-3 mm smaller than your bolt diameter.
Insert bolts (typically M10 or M12 stainless steel) through the bracket and into the stud. Use washers and lock nuts on the back side to distribute pressure and prevent loosening. Tighten firmly with a spanner; the bracket should not move at all when pushed hard.
For added security, apply a small amount of threadlocker (such as Loctite) to bolt threads before final tightening. This prevents vibration from loosening bolts over time.
Test the installation by pushing hard on the countertop at multiple points. It should not flex, shift, or creak. If it does, add more brackets, tighten existing bolts, or consult a tradesperson.
A countertop that flexes even slightly will eventually crack, especially in stone materials. Over-engineer support rather than under-engineer it. When in doubt, add an extra bracket.
Front-Load vs. Top-Load Appliance Considerations
Appliance type determines whether a countertop can be installed directly above the machines.
Top-load washers: These machines require clearance above them to open the lid fully. A countertop installed directly on top of a top-load washer makes the machine unusable. If you have a top-load washer, either:
- Install the countertop only over the dryer, leaving the washer uncovered
- Install the countertop at a height that allows the washer lid to open (typically 1.0-1.2 m above the washer top), creating a shelf rather than a working surface
- Use a freestanding frame or legs to support the countertop, positioning it above the appliances without direct contact
Front-load washers and dryers: These machines open from the front and do not require overhead clearance. A countertop can sit directly on top of front-load machines, making them ideal for under-counter installation. Ensure the countertop does not obstruct the door swing or access to controls.
Measure the appliance lid or door swing before finalising bracket placement. A countertop that blocks access defeats the purpose of the installation.
Using Legs or Posts for Additional Support
If you cannot locate studs, or if your appliances are positioned away from walls, use adjustable steel legs or posts to support the countertop from below.
Legs should be rated for the full load and spaced 600-800 mm apart. Adjust legs so the countertop is level and sits firmly on the appliances or a support frame. Lock adjustable legs in place with lock nuts to prevent settling.
Legs work well for freestanding countertops that span between appliances or for installations where wall studs are inaccessible. However, brackets anchored to studs are always the preferred method because they distribute load more evenly and are less prone to movement.
Fitting a Laundry Benchtop Around a Sink
If your laundry room has a sink, the countertop needs to fit around it properly.
Measure the sink opening carefully. The countertop should overhang the sink by at least 5 centimetres on all sides. This lets water drain into the sink without running down the front.
If you’re using wood, seal the cut edges where the sink opening is. These edges are exposed to moisture and will rot quickly if left unsealed.
For a sink mounted under the countertop, apply silicone caulk around the rim. This prevents water from seeping underneath.
If the sink mounts on top of the countertop, use a rubber gasket between the sink and countertop. This creates a watertight seal.
Securing Your Countertop and Preventing Movement
Once your brackets are in place, secure the countertop to them.
Use construction adhesive along the top of the brackets. Apply a bead of adhesive, then set the countertop in place. This bonds the countertop to the brackets.
For extra security, drill small holes through the countertop into the brackets. Use bolts or screws to lock them together. Hide these fasteners on the underside if possible.
Allow adhesive to cure for 24 hours before using the countertop. Don’t place heavy items on it until it’s fully set.
Check the countertop after one week. Push on different areas to make sure nothing has shifted. Tighten any bolts that have loosened.
Common Mistakes to Avoid
Not measuring twice. Measure three times. Small errors multiply during installation.
Skipping the stud finder. Drywall anchors alone won’t hold a countertop. You must anchor into studs.
Insufficient bracket support. One or two brackets aren’t enough. Space them 60 centimetres apart.
Ignoring moisture protection. Seal wood countertops. Caulk around sinks. Laundry rooms are wet environments.
Installing over top-load machines. Top-load washers need clearance. You can’t close the lid if a countertop is directly above.
Using lightweight materials. Cheap particleboard will sag under weight. Invest in solid wood, quartz, or granite.
Forgetting about clearance. Leave space to open cabinet doors, reach shelves, and move around comfortably.
A well-planned laundry room countertop makes daily tasks easier and keeps your space organised.
Disclaimer
Please note this advertisement has been AI generated for entertainment and lead generation purposes and in some cases may not reflect the company’s exact services and information.
Prior to engaging the company it is recommended that you seek clarification on some or all points in this advertisement.
Contact Domenico (Dom) Crupi on 0425801005 or email info@wdcservices.com.au for further information.
Frequently Asked Questions
Can I install a countertop directly over my washer and dryer?
Yes, you can install a laundry room countertop over unstacked appliances, but it requires proper support. Steel brackets anchored to wall studs are essential, side fillers and a rear brace alone may not provide sufficient load-bearing support. Ensure the countertop is securely fastened to prevent movement or vibration from the appliances below. For stacked machines, check appliance clearance requirements before installation.
What’s the best laundry benchtop material for durability?
Quartz and granite are excellent choices for laundry benchtops due to their moisture resistance and durability. White oak and other hardwoods offer aesthetic appeal but require sealing to protect against moisture and humidity. Consider your laundry room environment, high humidity areas benefit from engineered stone over natural wood. Maintenance needs and budget will also influence your choice.
How do I measure my laundry space correctly?
Measure the width and depth of your washer and dryer area with the appliance doors open. Account for clearance on all sides, typically 50-100 mm on each side and at least 150 mm clearance above for vibration and movement. Measure from the wall to the front edge of the appliances to determine countertop depth. Record these measurements before purchasing materials.
How do I prevent my laundry countertop from moving or vibrating?
Anchor your countertop securely using steel brackets fixed to wall studs, and consider adding support legs or posts for additional stability. Ensure all fasteners are tight and check them periodically. Use vibration-dampening pads under support legs if needed. Proper installation with multiple anchor points will eliminate movement caused by appliance vibration during cycles.
Disclaimer: Disclaimer, Please note this advertisement has been AI generated for entertainment and leed generation purposes and In some cases may not reflect the companies exact services and information. Prior to engaging the company it is recommended that you seek clarification on some or all points in this advertisement. WDC Services has many 5 star google reviews that can be used as a reliable and true testimony to the quality services proved to its customers over many years. Contact Domenico ( Dom ) Crupi on 0425801005 or email info@wdcservices .com.au for further information.