
Table of Contents
- How to Prepare for a Bathroom Renovation Before Demolition Starts
- Bathroom Renovation Timeline: What Each Stage Means for Your Household
- Bathroom Renovation Dust Control That Actually Works
- Temporary Bathroom Setup Ideas for Single and Multi-Bathroom Homes
- Managing Noise, Privacy, Safety and Stress While You Live On-Site
- Budgeting, Insurance and Contractor Communication During the Build
- Frequently Asked Questions
Last Updated: September 17, 2026
How to Prepare for a Bathroom Renovation Before Demolition Starts
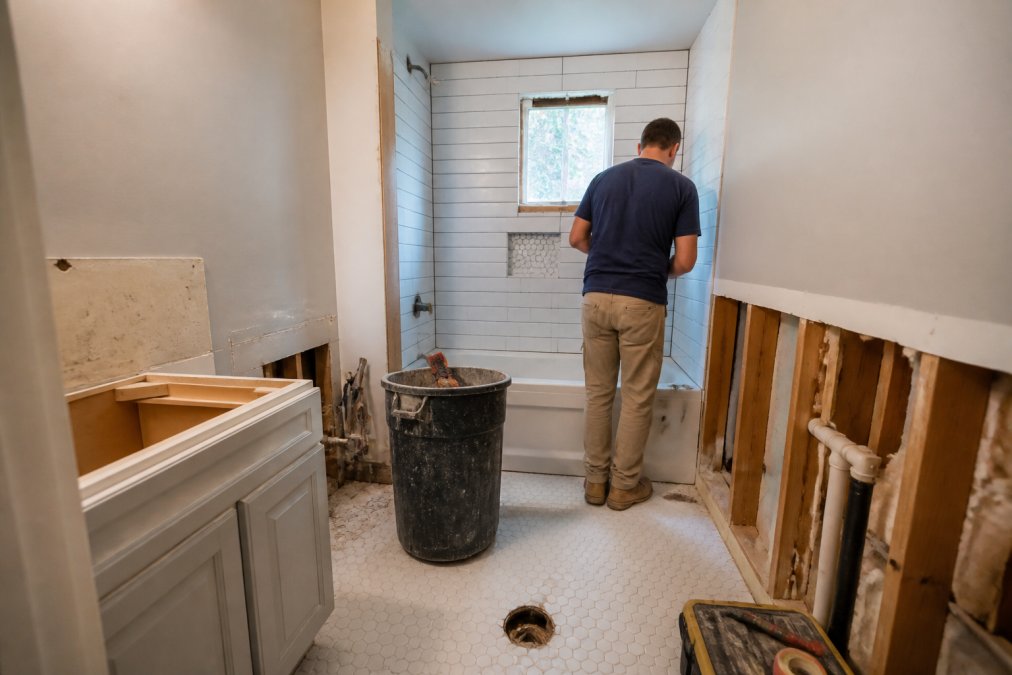
Most renovating bathroom while living there problems start before a single tile comes up, and renovating bathroom spaces is no exception. Planning is the difference between a manageable few weeks and a household in chaos.
Clear the Room and Protect What Stays
Empty the bathroom completely. That includes the medicine cabinet, towel rails, and anything mounted on walls.
- Remove toiletries, towels, and bath mats
- Take down mirrors and shelving
- Store valuables in a sealed box in another room
- Cover hallway floors with drop sheets
- Photograph the room before work starts
Set Up a Temporary Bathroom Setup Before the Old One Goes
Your temporary bathroom must be running before demolition day. Not after.
Waiting until demolition day to set up a temporary bathroom leaves your household without a working toilet overnight. Sort this first.
Bathroom Renovation Timeline: What Each Stage Means for Your Household
A typical bathroom renovation timeline runs three to six weeks, depending on size and scope. Each stage disrupts your home in a different way.
| Stage | Duration | Household Impact |
|---|---|---|
| Demolition | 1-2 days | Heavy noise, dust, no bathroom access |
| Rough-in and waterproofing | 3-5 days | Noise, water shut-offs, access limits |
| Tiling and grouting | 3-5 days | Dust, curing time, no water use |
| Fixture installation | 2-3 days | Short power and water interruptions |
| Final finishes | 1-2 days | Minimal disruption, snag list |
Demolition, Rough-In and Waterproofing
Demolition is the loudest, messiest stage. Plasterboard comes down, tiles are smashed, and dust travels through the house.
Bathroom Renovation Dust Control That Actually Works
Effective bathroom renovation dust control is not about one sheet of plastic over a doorway. It is about building a negative-pressure containment zone so that air flows into the work area and not out into the rest of your home. Get this wrong and fine dust from tile adhesive, grout, plasterboard and old waterproofing membrane will settle on every surface in the house for weeks.
Why Bathroom Dust Is Worse Than Other Rooms
Bathroom demolition produces three dust types that behave differently:
- Silica dust from cutting or smashing tiles and cement sheeting. It is respirable, meaning particles are small enough to reach deep into the lungs, and it stays airborne for hours.
- Plasterboard and gypsum dust from removed wall linings. It is heavier, so it drops quickly but coats everything in a fine white film.
- Mould and biological dust from wet areas behind old showers and baths. If the previous waterproofing failed, you may be disturbing decades of hidden mould growth.
Older homes add a fourth risk: lead-based paint on trims and window frames, and asbestos in cement sheet, vinyl flooring and old tile adhesive in homes built or renovated before the mid-1980s. In most states, a licensed asbestos assessor must identify friable asbestos before demolition, and removal must be done by a licensed removalist. Do not let a general demolition crew touch suspect sheeting.
Build a Proper Containment Zone
A working containment zone has four parts, and skipping any one of them defeats the purpose:
- A sealed barrier. Use 200-micron builder’s plastic, not cling film or drop sheets. Tape it floor to ceiling with a 50mm overlap on every seam, and seal it to the floor with gaffer tape so dust cannot escape underneath.
- A zip door or double-flap entry. A single open doorway destroys the pressure differential every time someone walks through. A zip door lets trades enter and exit without breaking the seal.
- Negative air pressure. Place a HEPA-filtered air scrubber inside the work zone, exhausting to outside the house, not into another room. This pulls air into the bathroom through every gap and stops dust migrating out. A common setup is one scrubber per 10-15 square metres of work area, running continuously during cutting and demolition.
- Sealed penetrations. Tape over exhaust fans, floor wastes, and any gap around pipes or wiring. Dust travels through wall cavities and reappears in bedrooms and kitchens.
Mist tile and plasterboard with water before you strike it. Wet demolition cuts airborne silica dramatically and keeps the scrubber from being overwhelmed.
Daily Dust Routine While You Live On-Site
Because you are living in the house, dust control is a daily job, not a start-and-finish task:
- Run the air scrubber for at least an hour after trades leave, then switch it off so you are not pulling dust through the house overnight.
- Wipe horizontal surfaces in adjoining rooms with a damp microfibre cloth, not a dry duster, which just re-suspends particles.
- Vacuum with a HEPA vacuum only. A standard household vacuum exhausts fine silica back into the air.
- Change the return-air filter on your heating or cooling system weekly during demolition and tiling. Consider taping over the return vent nearest the bathroom and running the system on fan-only to reduce recirculation.
- Keep the bathroom door closed and the containment sealed at all times, even on days when no work is happening.
When to Bring in a Specialist
If your home was built before the mid-1980s, or you are removing more than a few square metres of tile or cement sheet, budget for a licensed asbestos assessment before demolition. If anyone in the household has asthma, hay fever or a respiratory condition, consider hiring a professional containment setup rather than a DIY plastic-and-tape job. The cost of a proper scrubber hire for a few weeks is small next to the cost of cleaning silica out of an entire house.
Temporary Bathroom Setup Ideas for Single and Multi-Bathroom Homes
The best temporary bathroom setup ideas depend on how many bathrooms you have. One-bathroom homes need a different plan than multi-bathroom households.
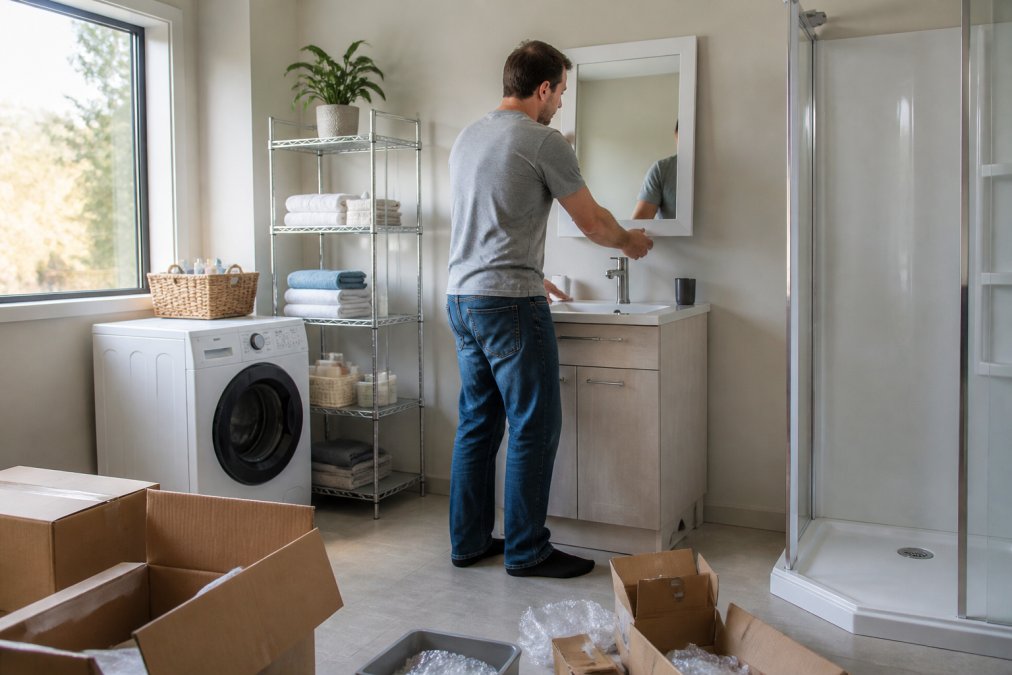
Checklist: One-Bathroom Household
- Portable toilet hired and positioned
- Laundry sink cleared for washing
- Bucket shower or gym membership arranged
- Privacy screen installed
- Towels and toiletries stored nearby
Checklist: Two or More Bathrooms
- Second bathroom stocked and ready
- Shower rosters agreed with family
- Spare towels and supplies on hand
- Locks checked on all doors
- Backup toilet access confirmed
Managing Noise, Privacy, Safety and Stress While You Live On-Site
Living in a construction zone wears people down. Noise, dust, and lost privacy add up, and stress is the part most guides ignore.
- Set work hours with your builder
- Use noise-cancelling headphones
- Keep pets and kids away from the site
- Lock tools and chemicals away
- Take breaks outside the house
The psychological toll of a renovation is real. Plan downtime away from the house, even for a few hours a week.
Budgeting, Insurance and Contractor Communication During the Build
Costs climb fast when changes happen mid-build. Bathroom renovation costs rose 11% to a median of $15,000 (First Chair, 2026), so budget for surprises. But when you are living on-site, there is a second set of costs and risks that most guides never mention: liability, insurance and the legal position of having your family inside an active construction zone.
The On-Site Liability Question Nobody Asks
When a homeowner vacates during a renovation, the site is a workplace. When the homeowner stays, it is both a workplace and a residence. That overlap creates questions worth resolving before demolition day:
- Who is liable if a family member is injured in the work zone? Your builder’s public liability insurance typically covers third parties, but a family member who enters a clearly signed exclusion zone may fall outside that cover. Ask your builder to confirm in writing which areas are off-limits and how they are barricaded.
- Does your home and contents policy still respond during works? Many policies require you to disclose renovations above a certain value, and some exclude damage caused by construction activity unless the builder holds their own contract works insurance. Call your insurer before work starts and get the answer in writing.
- What happens if the site is left unattended overnight? Tools, copper pipe and fixtures are theft targets. Confirm who is responsible for securing the site, and whether your policy or the builder’s covers theft from an occupied home under renovation.
- Are you covered if a temporary bathroom setup fails? A burst laundry tap or a leaking portable shower base can cause water damage. Check whether your policy treats a temporary bathroom as part of the insured home.
Do not assume your existing home insurance automatically covers a renovation. Most policies require disclosure, and undisclosed works can void a claim. Confirm cover in writing before demolition.
Budgeting for the Real Cost of Living On-Site
The renovation quote is only part of the number. When you stay in the home, add these line items:
- Temporary facilities: portable toilet hire, gym or pool membership for showers, laundry upgrades, and a temporary shower base or bucket-fill setup.
- Meals and laundry: extra takeaway, laundromat trips, or a second-hand dryer if yours is out of action.
- Dust and cleaning: HEPA vacuum hire, air scrubber hire, extra cleaning products, and possibly a professional post-build clean.
- Time off work: demolition day, waterproofing cure days, and inspection days often need someone on-site.
- Contingency: keep 10-15% of the total project value aside. Bathroom renovations routinely uncover rotten subfloor, failed waterproofing or outdated wiring once walls are open.
Contractor Communication That Prevents Disputes
A clear schedule, a named contact and written updates prevent most disputes. When you are living on-site, communication needs to be tighter than usual:
- Agree daily start and finish times in writing, and confirm which days are noisy versus quiet.
- Nominate one person in the household as the point of contact so the builder is not fielding conflicting instructions.
- Ask for a written weekly update covering what was done, what is next, and any variation that may affect cost or timeline.
- Get every variation in writing before the work is done, with a clear price and time impact.
- Confirm in writing which areas of the house are off-limits to trades, and which power, water and toilet facilities they may use.
Homeowners who want one team handling design, trades, waterproofing, and electrical instead of juggling multiple contractors.
Frequently Asked Questions
Is it possible to live in the house if I only have one bathroom?
Yes, but it takes planning. Set up a temporary bathroom before demolition starts, using a laundry, garage or spare room for a portable shower, toilet and basin. Arrange a portable toilet hire for the demolition and rough-in period, and expect at least two to three weeks without a working shower. Families with young children or mobility needs should consider short-term accommodation for the messiest stages.
How do you manage hygiene during a bathroom renovation?
Keep a dedicated hand-wash station with soap and paper towels outside the work zone, and never let food prep happen near demolition dust. Clean the temporary bathroom daily, and wipe down shared surfaces like door handles and light switches. If the toilet is removed, hire a portable unit and empty it on a set schedule. Ask your builder to seal off the work area each night so dust does not settle on clean towels or toothbrushes.
What is the typical timeline for a full bathroom renovation?
A standard bathroom renovation runs six to ten weeks from demolition to final fit-off. Demolition and plumbing rough-in take about a week, waterproofing needs a day plus curing time, tiling and grouting take one to two weeks, and fixture installation, electrical compliance checks and painting fill the rest. Delays happen when materials arrive late or waterproofing fails inspection, so confirm your bathroom renovation timeline in writing before work begins.
What should I include in my temporary bathroom setup?
A workable temporary bathroom needs five things: a shower option (portable base or a shower over a laundry tub), a toilet (hired portable unit or a second toilet elsewhere in the house), a basin for hand-washing, storage for toiletries away from dust, and good ventilation. Add a shower curtain or privacy screen if the setup is in an open space, and keep a small caddy so each family member can carry their own items in and out.
Renovating while living on-site is stressful, but it doesn’t have to be chaotic. The right preparation, a clear timeline, and a team that manages every trade keeps your household running. WDC Services handles full project management, including electrical, carpentry, waterproofing, and tiling, so you’re not coordinating five different tradespeople. Get started with WDC Services and turn your outdated bathroom into a functional retreat built to last.
Disclaimer: Disclaimer, Please note this advertisement has been AI generated for entertainment and leed generation purposes and In some cases may not reflect the companies exact services and information. Prior to engaging the company it is recommended that you seek clarification on some or all points in this advertisement. WDC Services has many 5 star google reviews that can be used as a reliable and true testimony to the quality services proved to its customers over many years. Contact Domenico ( Dom ) Crupi on 0425801005 or email info@wdcservices .com.au for further information.